Click the image above to enlarge.
Jeffery Saddoris over at Faded & Blurred wanted to see a behind the scenes (that’s BTS for the hipsters out there) of the picture I posted last week of Gatlin standing on the wall. And as I do anything he tells me to, here you go. My intention is not to go through every key and pen stroke, but rather walk through the main steps so you get the idea of how this is all done.
It all started with a vague idea of having Gatlin standing cool on a wall. As if he belonged there and it was no big deal. I wasn’t sure which wall or if it would work exactly. Being one of my 365.2011 shots, it was about doing something different and interesting.
Before Gatlin showed up, I took a walk out in front of my building in Brooklyn and looked for a wall. The cafe next door had this pretty great red brick wall that I though might do the trick, so I setup my tripod and took some shots. Swapped lenses a bit to get it right, ending on my trusty 28mm prime. Always trying to imagine how a person might fit into the frame. Since I wasn’t doing any scale shifting (making something smaller or larger than they are), it’s best to use the same lens for each element of the shot, that way the perspective and any lens effects stay constant. That makes it easier to blend the two in the end. In fact, placing the person in the same place in the frame that they’ll be in the final shot really helps. Allowing you to overlay the two and just mask them in. There’s more to it than that of course, but we’re getting ahead of ourselves.
So here’s the picture of the wall in front of the cafe. I call this a ‘plate’ because it’s the base image that I’m going to put other elements into. This is right out of the camera and as you can tell, pretty boring. In fact, it’s not a very good picture at all. That said there’s more to it than just taking the shot. You’ve got to rotate your thinking a bit and remember that he’s going to be coming out 6 feet from that wall so make sure you give them enough room. I also measure from the camera to the plane where I think he’s going to be, and the distance from the camera to the wall. You’ll need this when we shoot Gatlin.

The next step is taking the plate and working on the contrast and such. Yes it’s a wall near my house, but it’s also got to be an environment where a guy standing on the wall doesn’t look stupid. A little too contrasty at this point? Maybe, but this is fine for now.

About an hour later, Galtin showed up. Now, I’ve never met him before, set the whole thing up via email, so I was in for a surprise because he’s a very tall guy. 6’8″ or thereabouts. This isn’t a problem per say, except that in taking the plate I left space for a more typically sized person. But in the end this was a blessing because it gave me the idea of having him twisting as if trying to get his face in the same orientation as the viewer. Which in many ways makes the shot.
As you can see, I shot him on some white paper. Arguably, a green screen would be easier, though I’ve always found that I have to end up doing so much of the masking work by hand anyway that it isn’t worth the trouble for a single picture. Plus there’s the green fringing everything picks up from reflections.
To get the angles right, you need to measurements you took outside. Set the camera/tripod to the same height as the distance the camera was from the wall outside. Then mark a spot on the paper based on the distance from the camera where you imagined him standing. The only other variable is the angle of the camera. as you can see, I was turned a little to wards the wall outside. ‘Looking down’ a bit if you turn your head and look at the picture below. I dealt with this by lining up the right most focus point in my 5DII with the spot on the wall where I imagined his feet would be. Then when I shot him I panned the camera down until that same focus point was on his feet. I didn’t use it to focus, it just happened to be a good marker to align to.
When you’re lighting things like this, you’ve got to think about how the light would fall on him in the final image. That is to say, from the sky above which is to his left in the picture. I ultimately wanted it to look like I filled a bit with a high softbox above the camera as well, so I brought that key light out in front of him a bit. I think I used two softlighters, one big one to his left to mimic the light and another camera left to fill in shadows. This doesn’t have to be perfect at this point, but the closer you get, the less work in post.

So if we just cut him out and drop him into the shot, this is what you get. Basically it looks exactly like it sounds and that’s not good. The overall perspective is pretty close, and he fits fine, but the color and contrast is a bit off, and the lack of shadows makes it very obviously fake.

So the next step is to add some shadows below Gatlin. As I mentioned, I wanted it to look like there was more than just the sun lighting him. Maybe a softbox a few feet above the camera position. Therefore the shadows are not right below, but also falling away ‘behind’ him as it were. On top of the big soft shadow, you’ll also need darker harder ones under his feet anywhere the shoes would be lifted off a half inch or less. That’s what really creates the illusion that he’s sticking to the wall.
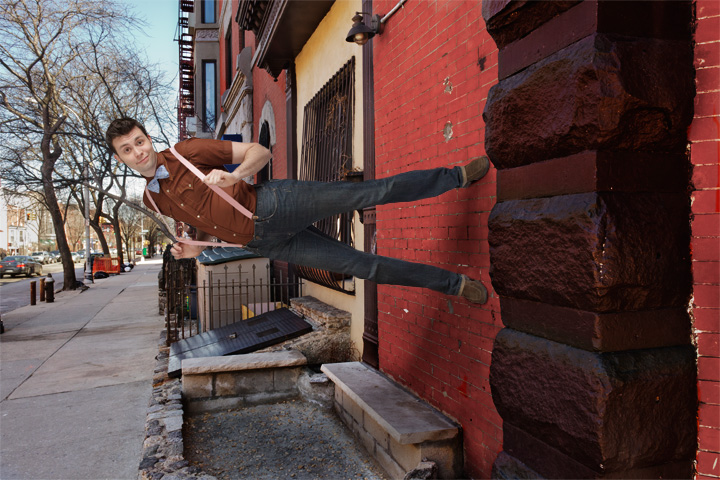
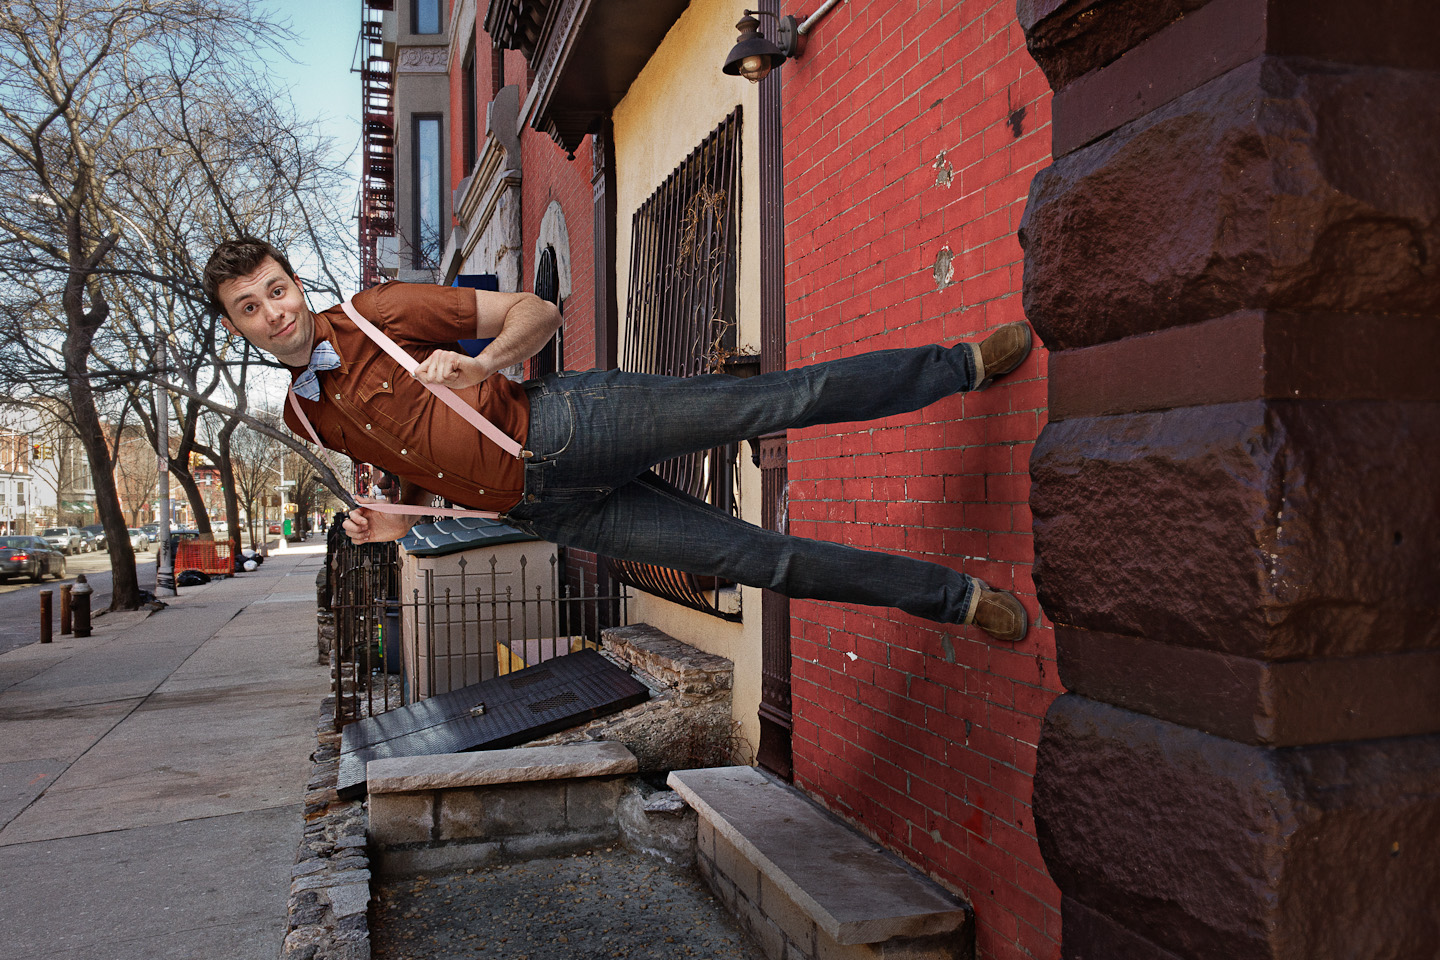
The last image is close, but there’s still a disconnect between him and the plate. So it’s time to go in with some masked curves layers and shape the light a bit more. This involves darkening the side of his body that’s closest to the ground and adding some contrast to the rest. A little color correction here and a tad saturation adjustment there and we end up with the image below. Looks pretty good, but not quite finished.

The final thing I like to do is add a some vignetting to make him pop off the background a bit. To make it seem more like a deliberate portrait and not a composite.

So there you have it. Two pictures and a couple hours of obsession in Photoshop. As a general rule, I’m not a meticulous photographer. I’m not constantly thinking about every setting and angle, but when you’re doing artistic composites like this, it’s being obsessive about those kinds of details that make the difference between silly and believable. I hope you found this interesting.